Artix Linux Installation Guide
This guide will run through the process of installing Artix Linux, which is a fork of Arch Linux without SystemD. For the init system I’ll be installing Runit, but you can install any init system of your choosing.
I’ll be creating an encrypted partition and installing on a UEFI system.
If you wish to install using legacy boot, or you don’t need to encrypt your drive, then follow the installation guide on the Artix Wiki instead.
Download the latest Artix ISO from here and write to a usb flashdrive. I recommend using Ventoy, but you can use the dd command to burn the ISO image directly to the usb drive (just make sure there is no important data on the disk beforehand)
dd if=artix-linux.iso of=/dev/sdX status=progress
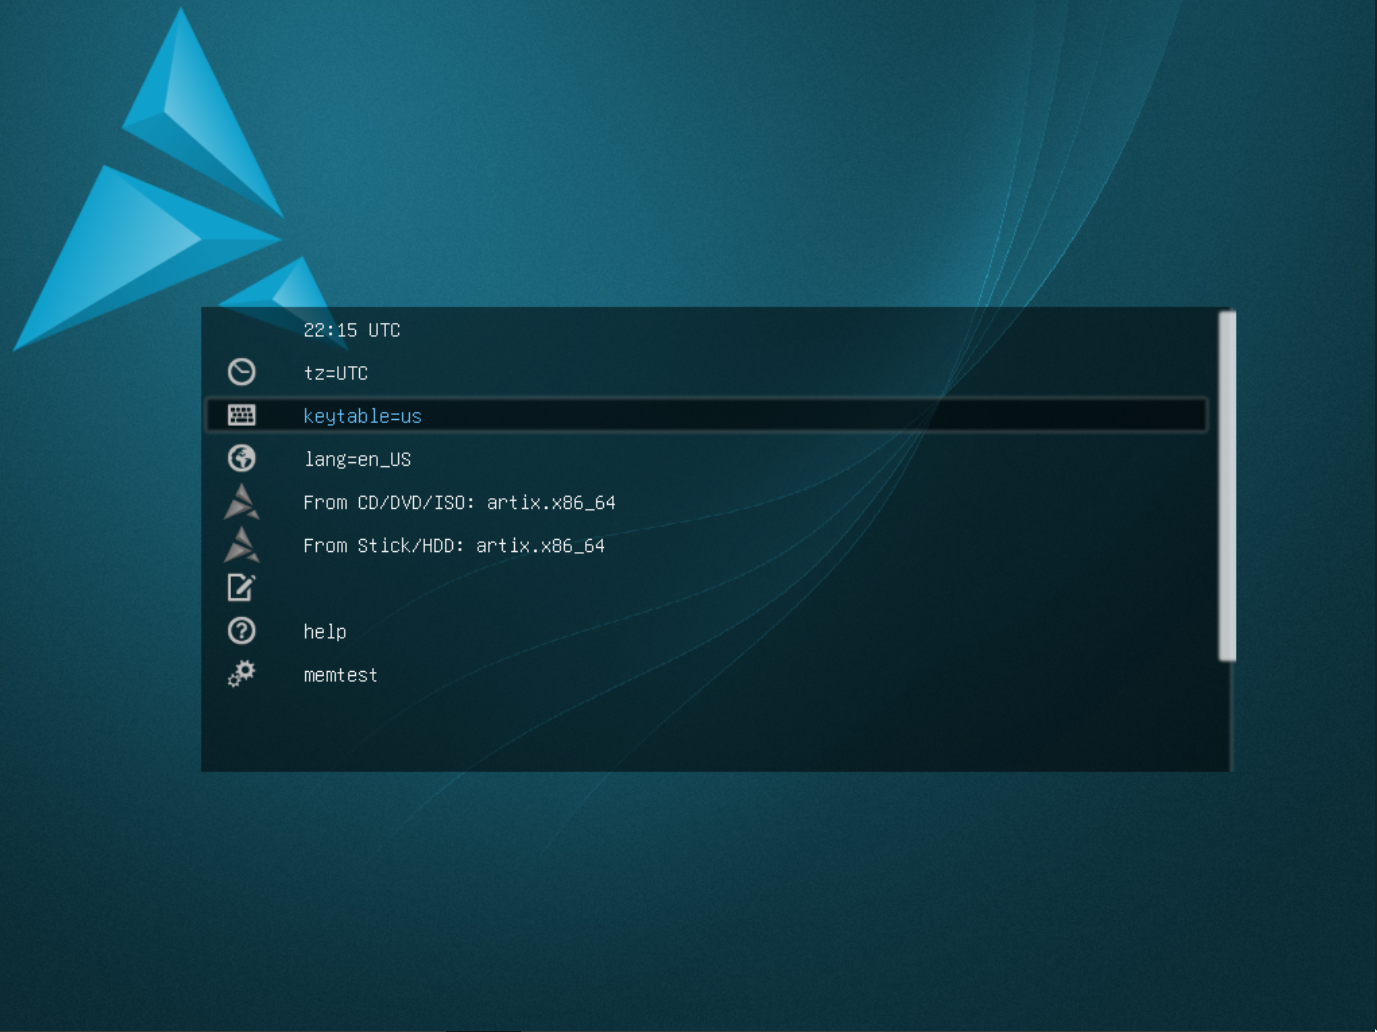
Boot into the ISO image and select the appropriate keyboard layout. Then start the live environment. The first step is to partition the hard drive. In this guide I’ll be using an encrypted partition on an UEFI system. If if you want a different configuration, please consult the Arch wiki.
Partition layout
The layout for this installation is as follows:
| mount point | drive | partition type | size |
|---|---|---|---|
| boot/efi | /dev/sda1 | efi partition | 1G |
| / | /dev/sda2 | encrypted luks partiton | rest of drive |
There is a 1GB efi partition at the beginning of the drive for the bootloader, then the rest of the drive will be encrypted and contain our root and home directory.
This installation assums the system will boot using UEFI. If you wish to install on a legacy system, this process will not work. To check if your system is UEFI, the run this command:
cat /sys/firmware/efi/fw_platform_size
If the command returns 64, then the system uses UEFI to boot.
Create New Partition
Login to the Artix live cd using with username: root, password: artix
List all drives attached to system:
lsblk
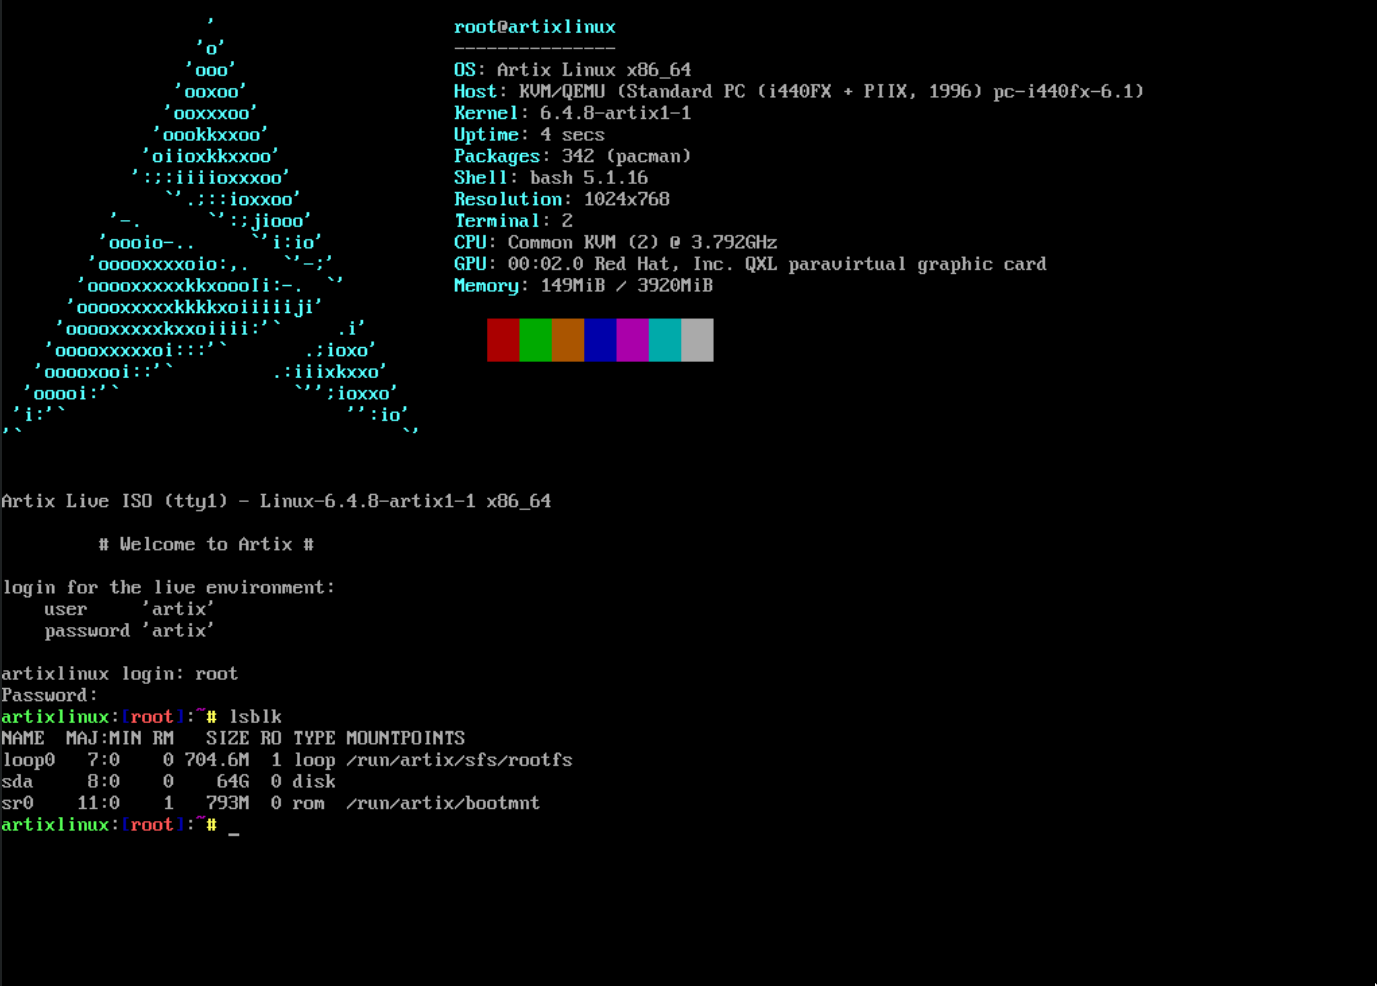
Locate the target drive (in this case /dev/sda) where we will install Artix.
Run:
fdisk /dev/sda
- Press (g) to create a new empty GPT partition table
- Press (n) to add a new partition
- Choose default partition number (1)
- Choose default first sector (2048)
- Set last sector as (+1G)
- Press (t) to change partition type
- Set partition type to “EFI System” (usually option 1 - press L to see all options)
- Press (n) to create a second partition for the rest of the drive. Choose all default settings
- Press (w) to write and exit
You should now have two partitions under /dev/sda:
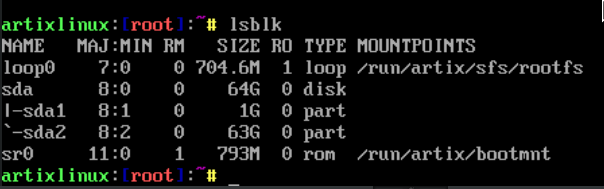
/dev/sda1 is the unencrypted boot partition, and /dev/sda2 will be where we store our encrypted volume.
Encryption using luks cryptsetup
Firstly create an encrypted container on the second partition. For this we will use luks encryption:
cryptsetup luksFormat /dev/sda2
Enter a suitably strong passphrase.
Next we need to open and mount the encrypted vault to install Artix.
cryptsetup luksOpen /dev/sda2 crypt
Enter your passphrase. This will open the encrypted vault and make it mountable
under the name “crypt” (accessible from /dev/mapper/crypt). You can choose a different name if you wish.
Create Filesystems
Format the boot/efi partition using fat32:
mkfs.fat -F32 /dev/sda1
And create a btrfs file system on the opened and decrypted luks vault:
mkfs.btrfs /dev/mapper/crypt
To check everything is in order, run:
lsblk -f
It should look something like this:
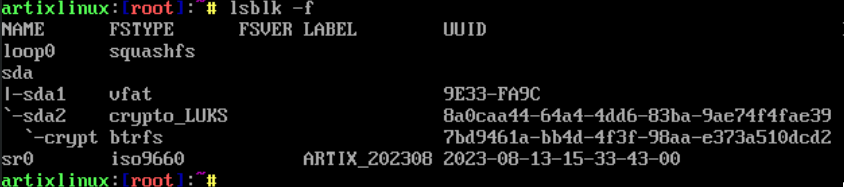
Note the UUIDs - they will be needed later for setting up decryption during boot.
Mount the partitions
mount /dev/mapper/crypt /mnt
mkdir /mnt/boot
mount /dev/sda1 /mnt/boot
Install Artix
Use the basestrap command to install Artix linux and other essential packages
to the mounted partition. You can also install packages from the Arch repos
here too:
basestrap -i /mnt base base-devel runit elogind-runit linux linux-firmware grub efibootmgr
networkmanager networkmanager-runit cryptsetup lvm2 lvm2-runit neovim vim
openssh openssh-runit
This will install about 1.4GB of packages onto your system.
Generate Fstab
This generates an fstab file for automatically mounting drives during system boot.
fstabgen -U /mnt >> /mnt/etc/fstab
Chroot Into the Install
Chroot will transport us into the installation:
artix-chroot /mnt
General Arch Setup
More info about each of these steps on the Artix Wiki and the Arch Wiki
Set timezone
ln -sf /usr/share/zoneinfo/Europe/London /etc/localtime
Set system clock
hwclock --systohc
Set locales
vim /etc/locale.gen
# uncomment your layouts, e.g. for me: "en_GB.UTF-8 UTF-8"
Generate locale
locale-gen
Set systemwide locale
vim /etc/locale.conf

#and append:
export LANG="en_GB.UTF-8 UTF-8"
export LC_COLLATE="C"
Setup mkinitcpio.conf
/etc/mkinitcpio.conf is the configuration file for setting up the initial
ramdisk environment. This is an small environment which loads various kernel
modules and sets the system up before handing control to the init system. As we
have installed Linux on an encrypted partition, we need to tell the ramdisk
environment how to decrypt this partition.
To do this we need to add some modules to the HOOKS line:
HOOKS=(base udev autodetect modconf kms keyboard keymap consolefont block encrypt lvm2 filesystems fsck)
add these modules---------------------------------------------------------^-------^
Here we add encrypt and lvm2 to the HOOKS. These modules will now get
loaded before boot and will enable the system to decrypt the root partition.
Next, regenerate the ramdisk environment based on the linux preset:
mkinitcpio --preset linux
Grub Bootloader
We now need to tell the bootloader where both our encrypted luks
vault is (so it can decrypt it) and where the decrypted root partition is in
order to boot the system. For this, we’ll need two UUIDs, one for the encrypted
luks vault (referenced as cryptdevice=UUID), and another for the decrypted
filesystem (referenced as root=UUID). We can obtain this information from the
lsblk -f command
We can output this to the /etc/default/grub file. We can do this using the
following command, I advice double checking this command before running it, as
it may not work on your system if it is set it up differently (e.g. you’re
not using btrfs):
Also, REMEMBER TO APPEND USING TWO ARROWS >>!! Else you’ll overwrite the
grub file and will need to reinstall.
lsblk -f | grep "crypto_LUKS\|btrfs" | sed "s/crypto_LUKS/#cryptdevice=UUID/;s/btrfs/#root=UUID/" | awk '{print $2"="$3}' >> /etc/default/grub
This will append the following to the grub file:
#cryptdevice=UUID=<long-uuid-string>
#root=UUID=<long-uuid-string>
Now we can open /etc/default/grub. We need to insert the two new strings at
the bottom of the file into the GRUB_CMDLINE_LINUX_DEFAULT string. It should
look something like this (remember to also add a volume name after the
cryptdevice=UUID string - e.g. here I’ve called it cryptlvm - you can call it
whatever you like)
GRUB_CMDLINE_LINUX_DEFAULT="loglevel=3 quiet cryptdevice=UUID=<long-uuid-string>:cryptlvm root=UUID=<long-uuid-string>"
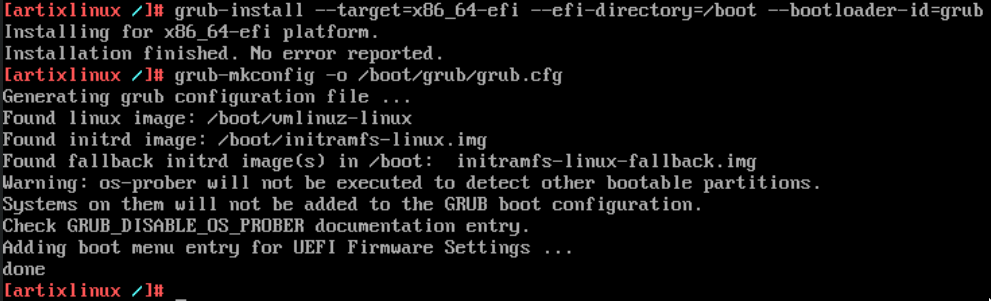
Install grub
For efi systems grub is installed with the following command:
grub-install --target=x86_64-efi --efi-directory=/boot --bootloader-id=grub
grub-mkconfig -o /boot/grub/grub.cfg
Add Users
Set a password for the root user:
passwd
Create regular user and add to wheel group. Set a password for that user.
useradd -G wheel -m user
passwd user
Edit the sudoers file to allow sudo root commands for user.
EDITOR=vim visudo`
Then uncomment the following line:
%wheel ALL=(ALL:ALL) ALL
Network Config
set hostname (replace <my-hostname> with a suitable name for your system)
echo "<my-hostname>" > /etc/hostname
Add hosts to /etc/hosts
127.0.0.1    localhost
::1          localhost
127.0.1.1    <my-hostname>.localdomain <my-hostname>
Install dhcp client
pacman -S dhcpcd
Enable networkmanager service with runit
ln -s /etc/runit/sv/NetworkManager /etc/runit/runsvdir/current
Exit chroot, unmount partition and reboot
exit
umount -R /mnt
reboot
If everything worked, then the system should be successfully setup. After reboot, it should ask for a passphrase to access the encrypted partition. You can then login using the user account that we created. At this point, we can install a graphical environment.